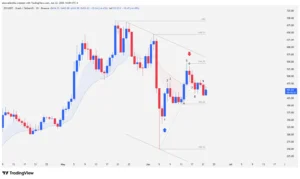
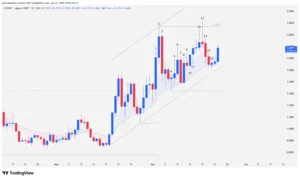
The privacy cryptocurrency market is experiencing a notable injection of volatility. ZCash (ZEC) staged an aggressive attempt at a two-legged reversal upward, trying to shake off the bearish pressure accumulated over recent weeks. Despite initial buyer enthusiasm to regain control, price action structure on key timeframes reveals that institutional supply continues to defend higher liquidity zones. This technical movement keeps traders on edge as the price oscillates between consolidating a local floor or succumbing to a classic bearish continuation pattern.
Anatomy of the Chart: Price Strips Away Market Psychology
To understand the true sentiment of market participants without the lagging methodology of traditional indicators, we must break down the narrative that the Japanese candlesticks sculpted bar by bar.
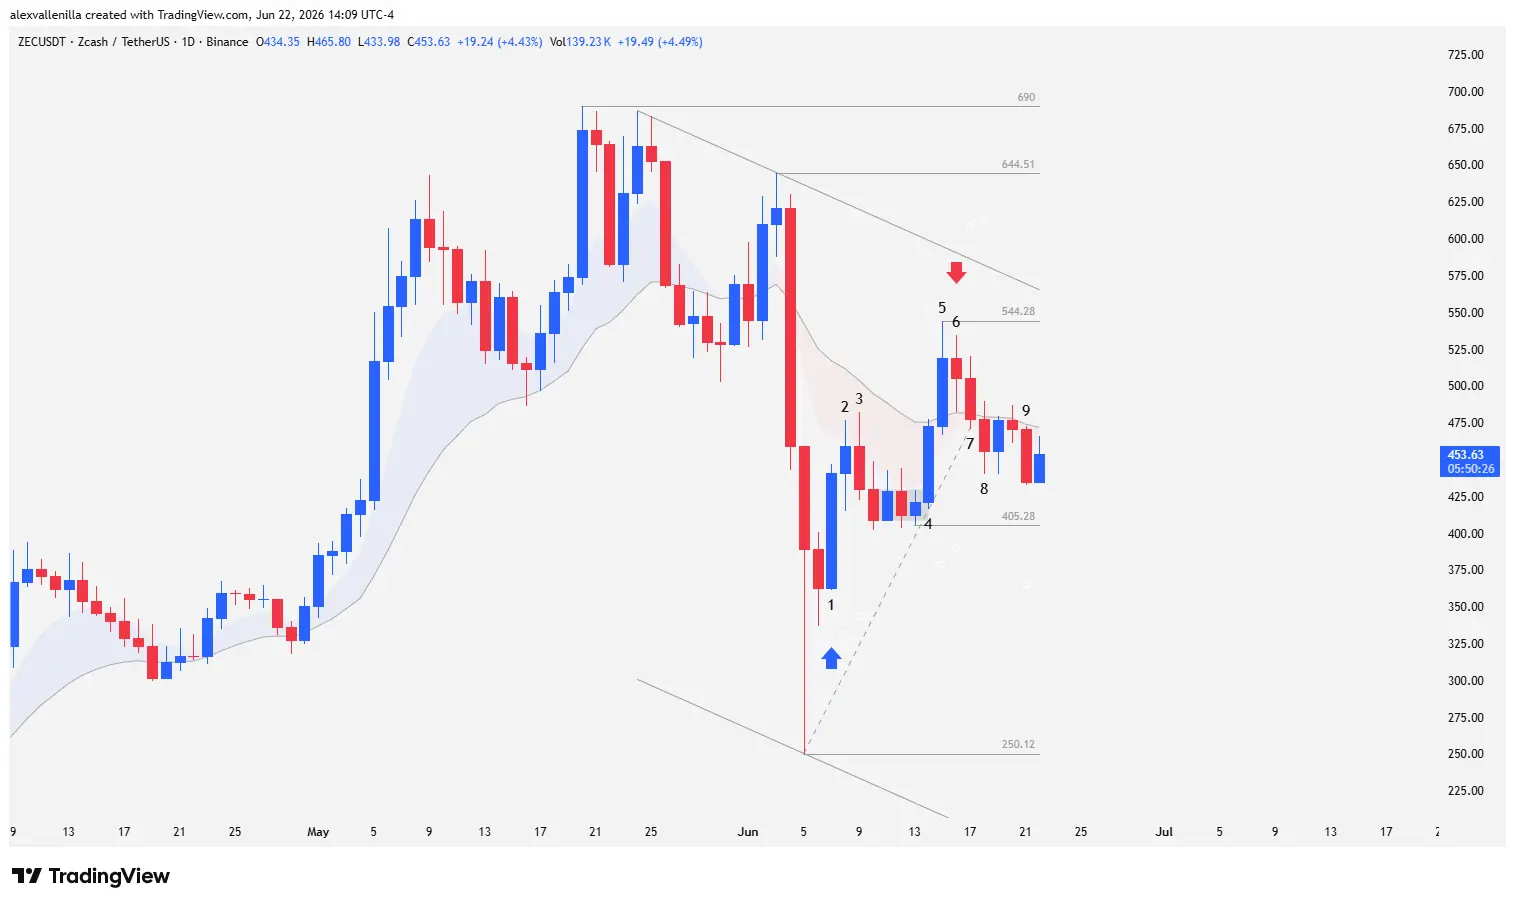
Bars 1 to 3: The initial impulse and the harsh reality of the bearish bias
Bar 1: Bulls enter with strength, setting up a high-conviction bar. Although it shows a shaved bottom denoting buying urgency, context analysis reminds us that we are facing an upward impulse strictly counter-trend.
Bar 2: This candlestick functions as a follow-through pause after the strong previous move. However, its small range structure raises red flags: the high remains below the 20-period exponential moving average (20 EMA), exposing premature demand exhaustion.
Bar 3: A bearish pullback appears, wiping out any attempt at continuity. By failing to test the 20 EMA with its high, this bar confirms that the macro bearish bias remains intact. From this point on, price action compresses into a technical congestion phase or “barbed wire” pattern, trapping liquidity in both directions below the moving average.
Bars 4 to 6: Testing the EMA and supply activation
Bar 4: Buyers manage to temporarily break out of the tight congestion range to the upside, structuring a counter-trend bullish microchannel. However, bears frustrate a close above the 20 EMA; the bar’s high barely touches that reference line.
Bar 5: Price expands its range upward and manages to trade above the 20 EMA in a clear volatility spike. However, the underlying psychology shifts drastically: the candlestick closes leaving a prominent upper tail or wick. This proves that sellers heavily absorbed buy orders at the resistance zone. The high of this bar falls well short of the key resistance at $644.51, which represents a vital lower high within a prior 29-bar bearish channel. By chaining a structure of lower highs over the last 33 bars, Bar 5 establishes a new fixed resistance at $544.28, coinciding with the upper trendline of the main bearish channel.
Bar 6: This is defined as a consolidation bar whose low rests slightly above the 20 EMA. In a predominantly bearish macro environment, this exact setup triggers what Price Action methodology calls an EMA gap bar, which typically translates into a bull trap. Under the institutional premise to “sell the rally,” this separation from the EMA invites sellers to place heavy short orders to resume the original bearish flow.
Bars 7 to 9: Bears regain control of the order flow
Bar 7: Sellers validate the signal from the previous bar. The candlestick breaks down sharply, trading below the 20 EMA once again and violating the low of Bar 6. This confirms the effectiveness of the bull trap.
Bar 8: Selling pressure accelerates and pierces the bullish trendline of the microchannel that buyers patiently built over the last 12 bars, ratifying the strength of the sell signal from Bar 6.
Bar 9: After a timid and unsuccessful reversal attempt, this candlestick operates below the 20 EMA and breaks the low of Bar 8. However, order flow shows a slight pause because the session low fails to reach the critical local support at $405.28, a point that serves as the last bastion of control for the short-term uptrend.
Market Outlook: Key Levels and Risk Management
The two-legged rally attempt that took the price from Bar 1 to the high of Bar 5 completely lost momentum when it proved unable to challenge the upper band of the macro channel and the resistance zone at $644.51. The decisive rejection at the $544.28 area demonstrates that buyers currently lack the market depth necessary to shift the technical structure.
In the short term, the highest mathematical probability scenario is a direct test of the fixed local support at $405.28. If supply breaks this defensive level, ZEC price action will highly likely target major support located at $250.12, completely invalidating the buying impulse that originated Bar 1.
Conversely, if bulls successfully defend the $405.28 level and manage a solid close above the 20 EMA, the price will seek a retest of the resistance at $544.28, a breakout of which would open the doors toward $644.51. Despite the current technical adjustment, ZEC maintains a robust medium-term balance with a positive return of 1047.52% over the last 12 months, though it reflects an 11.40% contraction year-to-date in 2026.
Disclaimer: This analysis is presented solely for informational and educational purposes based on price action methodology. It does not constitute financial advice, investment recommendations, or an offer to buy or sell digital assets. Cryptocurrencies carry a high risk of volatility and capital loss.
Communications Professional. Crypto Enthusiast. Economic Journalist. Bitcoiner & Altcoiner.